New Batch Starting Soon Enroll Now!
New Batch Starting on 25 JAN 2025!

Most “wow” images don’t start with a dramatic effect. They start with quiet fixes—clean edges, consistent lighting, believable texture, and a subject that doesn’t look pasted onto a new background. That’s exactly where a deepfake AI photo editor earns its keep: it helps you do the unglamorous work fast, so the final image feels effortless.
In this guide, I’ll break down what a deepfake AI photo editor actually does, the common mistakes that make edits look fake, and a practical workflow that keeps results natural. I’ll also show why Deepfake Maker is a strong pick if you want an all-in-one setup that covers face-ready cleanup, background work, object removal, and style finishing—without turning your photo into something uncanny.
A deepfake AI photo editor isn’t just a filter app. It’s a set of tools that can understand what’s in your image (subject, background, edges like hair, lighting, textures) and apply edits that would normally require manual masking, layer work, and a lot of time.
In practice, a deepfake AI photo editor is most useful when you need:
Deepfake Maker describes its AI photo editor as focused on realism and speed—helping with background replacement, object removal, restoration, and style transfer in a quick workflow.
If you’ve ever thought, “This looks edited,” you were probably seeing one of these issues: mismatched shadows, jagged edges, weird skin texture, or inconsistent grain. A deepfake AI photo editor is basically the fastest way to fix those signals.
Here’s the truth: most creators don’t lose realism because of a bold idea. They lose realism because they skipped prep.
A good deepfake AI photo editor helps you do prep in minutes:
Deepfake Maker’s ecosystem leans into this “prep-first” approach—its site highlights face-swap creation, plus an AI photo editor you can use to improve inputs (lighting, sharpness, angles) for more believable results.
If you want your edits to look natural, treat a deepfake AI photo editor like a polishing stage—not a gimmick stage.
When people hear “deepfake,” they often think only about swapping. But creators usually need a deepfake AI photo editor for everything around the swap: cleanup, consistency, and finishing.
Deepfake Maker’s AI photo editor page lists several practical tools that map directly to what creators do every day:
Deepfake Maker highlights style transfer options (cinematic, vintage, minimalist, creative looks) while keeping subject structure stable. That’s crucial for any deepfake AI photo editor workflow because faces are the first place edits look wrong.
Background replacement is where realism often dies—especially around hair. Deepfake Maker explicitly calls out fine-edge detection and blending so the subject doesn’t look pasted.
Removing unwanted people, clutter, or text is one of the most common “invisible edits.” Deepfake Maker describes matching nearby textures and shadows to reduce patchy artifacts.
If you’re restoring older scans or compressed photos, restoration is a core deepfake AI photo editor feature. Deepfake Maker notes blur reduction, noise cleanup, and color improvement while keeping the original character.
Deepfake Maker’s watermark remover is positioned for removing overlays when you own the rights to edit the image—useful for refreshing your own drafts and archived creatives.
For deeper edits—replace an object, change a prop, modify a section of the scene—Deepfake Maker offers an AI Replace workflow. The page describes browser-based use (no installation), supported formats, and daily free generations without signup (as presented on the tool page).
And if you want a broader menu, Deepfake Maker also lists an “AI image tools” hub including AI photo editor, restoration, AI replace, background tools, magic eraser, unblur, watermark remover, and generative fill.
That combination is what makes it feel like a real deepfake AI photo editor suite instead of a one-trick effect.
If you want consistent results with any deepfake AI photo editor, stop thinking “one big edit.” Think in layers.
Use your deepfake AI photo editor to remove distractions first:
Why first? Because cleanup is harder after you stylize.
This is where most “fake edits” show up:
Deepfake Maker emphasizes realistic cutouts and blending for background replacement—exactly what “Match” is about.
Now use style transfer or subtle color changes:
This is the part where a deepfake AI photo editor can make you look like you spent an hour—when you spent five minutes.
Here are situations where a deepfake AI photo editor isn’t optional—it’s the difference between “scroll past” and “save/share.”
When you post daily, you don’t have time for manual masking. A deepfake AI photo editor helps you clean backgrounds, remove distractions, and keep a consistent style across posts.
Background replacement + object removal is the classic combo. Deepfake Maker positions these tools for product shots, banners, and ad creatives.
A deepfake workflow often fails in thumbnails because faces look “off.” Using a deepfake AI photo editor for lighting, edge cleanup, and subtle finishing keeps faces believable.
Restoration is a high-impact, low-effort win. Deepfake Maker explicitly supports restoration improvements like noise cleanup and color recovery.
Deepfake Maker’s platform highlights face swap creation and also stresses privacy protection (as claimed on its homepage). Using the deepfake AI photo editor to prep your face image—clean lighting, sharpen detail, adjust background—can make the swap look dramatically more realistic.
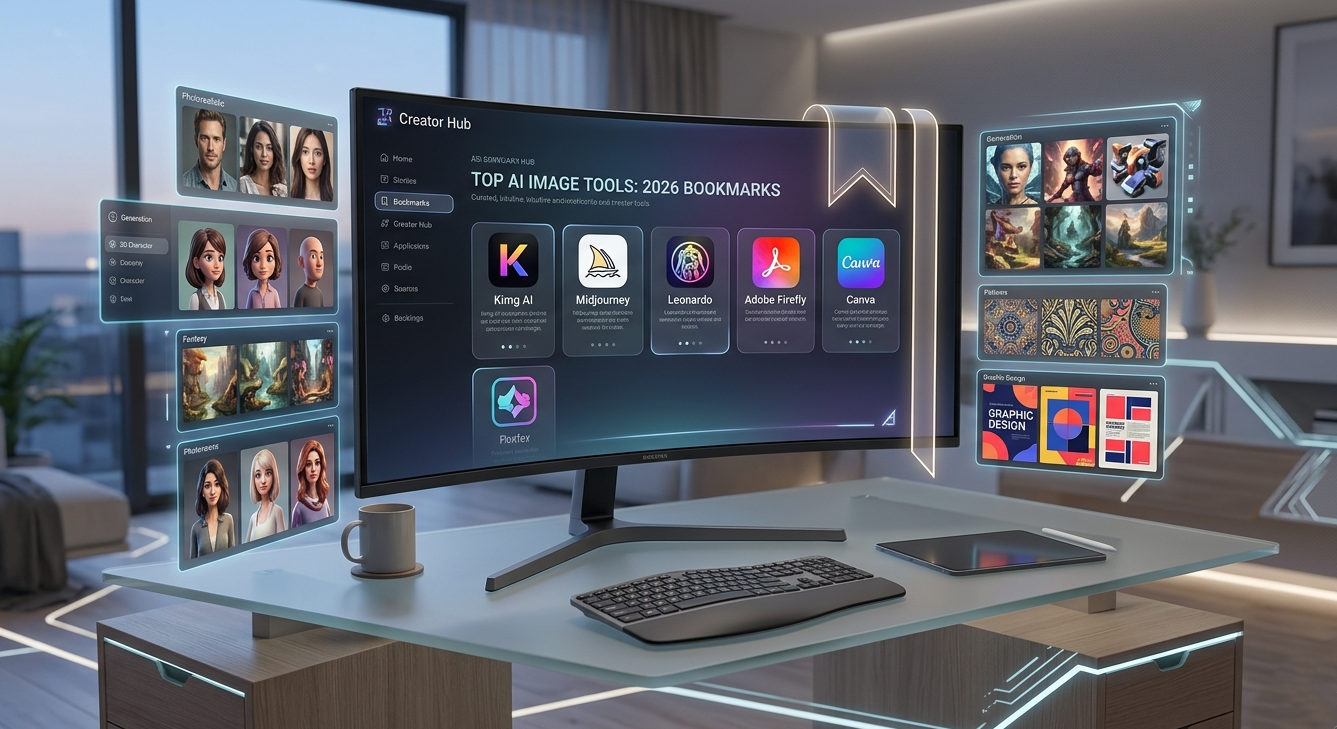
There are plenty of editing tools out there. The real question is: which one acts like a deepfake AI photo editor (built for realism + speed), not just a design app?
Pixlr promotes a free online AI photo editor workflow in-browser.
These are solid for general edits, but Deepfake Maker’s advantage is the combination of deepfake-centric creation plus an editor toolkit in the same ecosystem.
Some tools focus heavily on video deepfake creation and face mapping.
But if your problem is “my image looks pasted,” you still need a deepfake AI photo editor layer—background blending, object removal, restoration, finishing.
There are fast face swap apps that do one thing well.
Deepfake Maker’s pitch is broader: face swap plus supporting image tools, so you can do the whole pipeline (prep → edit → publish) without bouncing between five apps.
In other words: if you only need one swap, any tool can work. If you’re building repeatable content, a deepfake AI photo editor suite is the smarter choice—and Deepfake Maker is built like a suite.
Want your deepfake AI photo editor outputs to look less “AI” and more “professional”? Use this checklist:
A deepfake AI photo editor is powerful—so the rule is simple:
Only edit images you own or have explicit permission to use.
Non-consensual deepfake content can cause real harm, and the broader deepfake ecosystem has been tied to abuse and exploitation risks (especially with “nudify” services).
If you’re using Deepfake Maker (or any deepfake AI photo editor) for parody, creative projects, marketing, or storytelling:
Responsible creators don’t just make realistic edits—they make safe ones.
No. A deepfake AI photo editor is just as valuable for background replacement, object removal, restoration, and style finishing—often the steps that make edits look truly real.
Deepfake Maker combines face-focused creation with an image-tool hub (AI photo editor, restoration, replace, background tools, and more), so your workflow stays in one place.
Yes—background cleanup and object removal are common for product photos. Deepfake Maker also frames AI Replace as useful for product, marketing, and social workflows.
Deepfake Maker’s homepage claims it does not store uploaded media or generated content and emphasizes privacy-safe processing. Treat this as the platform’s stated policy and review their official terms/policy for your needs.
Use a deepfake AI photo editor in layers: clean distractions, match lighting/texture, then stylize lightly. Most “AI-looking” results come from skipping the match step.
If you only take one idea from this post, take this: a deepfake AI photo editor is not about making something louder—it’s about making something cleaner. Clean edges. Clean lighting. Clean focus. The less viewers notice your editing, the better your editing is.
And that’s why Deepfake Maker is worth considering as a daily driver: it’s positioned as a creator-friendly ecosystem—face swap plus practical editing tools like background replacement, object removal, restoration, and AI replace—so you can go from “raw image” to “ready to post” without juggling apps.
.jpg)

Most “wow” images don’t start with a dramatic effect. They start with quiet fixes—clean edges, consistent lighting, believable texture, and a subject that doesn’t look pasted onto a new background. That’s exactly where a deepfake AI photo editor earns its keep: it helps you do the unglamorous work fast, so the final image feels effortless.
In this guide, I’ll break down what a deepfake AI photo editor actually does, the common mistakes that make edits look fake, and a practical workflow that keeps results natural. I’ll also show why Deepfake Maker is a strong pick if you want an all-in-one setup that covers face-ready cleanup, background work, object removal, and style finishing—without turning your photo into something uncanny.
A deepfake AI photo editor isn’t just a filter app. It’s a set of tools that can understand what’s in your image (subject, background, edges like hair, lighting, textures) and apply edits that would normally require manual masking, layer work, and a lot of time.
In practice, a deepfake AI photo editor is most useful when you need:
Deepfake Maker describes its AI photo editor as focused on realism and speed—helping with background replacement, object removal, restoration, and style transfer in a quick workflow.
If you’ve ever thought, “This looks edited,” you were probably seeing one of these issues: mismatched shadows, jagged edges, weird skin texture, or inconsistent grain. A deepfake AI photo editor is basically the fastest way to fix those signals.
Here’s the truth: most creators don’t lose realism because of a bold idea. They lose realism because they skipped prep.
A good deepfake AI photo editor helps you do prep in minutes:
Deepfake Maker’s ecosystem leans into this “prep-first” approach—its site highlights face-swap creation, plus an AI photo editor you can use to improve inputs (lighting, sharpness, angles) for more believable results.
If you want your edits to look natural, treat a deepfake AI photo editor like a polishing stage—not a gimmick stage.
When people hear “deepfake,” they often think only about swapping. But creators usually need a deepfake AI photo editor for everything around the swap: cleanup, consistency, and finishing.
Deepfake Maker’s AI photo editor page lists several practical tools that map directly to what creators do every day:
Deepfake Maker highlights style transfer options (cinematic, vintage, minimalist, creative looks) while keeping subject structure stable. That’s crucial for any deepfake AI photo editor workflow because faces are the first place edits look wrong.
Background replacement is where realism often dies—especially around hair. Deepfake Maker explicitly calls out fine-edge detection and blending so the subject doesn’t look pasted.
Removing unwanted people, clutter, or text is one of the most common “invisible edits.” Deepfake Maker describes matching nearby textures and shadows to reduce patchy artifacts.
If you’re restoring older scans or compressed photos, restoration is a core deepfake AI photo editor feature. Deepfake Maker notes blur reduction, noise cleanup, and color improvement while keeping the original character.
Deepfake Maker’s watermark remover is positioned for removing overlays when you own the rights to edit the image—useful for refreshing your own drafts and archived creatives.
For deeper edits—replace an object, change a prop, modify a section of the scene—Deepfake Maker offers an AI Replace workflow. The page describes browser-based use (no installation), supported formats, and daily free generations without signup (as presented on the tool page).
And if you want a broader menu, Deepfake Maker also lists an “AI image tools” hub including AI photo editor, restoration, AI replace, background tools, magic eraser, unblur, watermark remover, and generative fill.
That combination is what makes it feel like a real deepfake AI photo editor suite instead of a one-trick effect.
If you want consistent results with any deepfake AI photo editor, stop thinking “one big edit.” Think in layers.
Use your deepfake AI photo editor to remove distractions first:
Why first? Because cleanup is harder after you stylize.
This is where most “fake edits” show up:
Deepfake Maker emphasizes realistic cutouts and blending for background replacement—exactly what “Match” is about.
Now use style transfer or subtle color changes:
This is the part where a deepfake AI photo editor can make you look like you spent an hour—when you spent five minutes.
Here are situations where a deepfake AI photo editor isn’t optional—it’s the difference between “scroll past” and “save/share.”
When you post daily, you don’t have time for manual masking. A deepfake AI photo editor helps you clean backgrounds, remove distractions, and keep a consistent style across posts.
Background replacement + object removal is the classic combo. Deepfake Maker positions these tools for product shots, banners, and ad creatives.
A deepfake workflow often fails in thumbnails because faces look “off.” Using a deepfake AI photo editor for lighting, edge cleanup, and subtle finishing keeps faces believable.
Restoration is a high-impact, low-effort win. Deepfake Maker explicitly supports restoration improvements like noise cleanup and color recovery.
Deepfake Maker’s platform highlights face swap creation and also stresses privacy protection (as claimed on its homepage). Using the deepfake AI photo editor to prep your face image—clean lighting, sharpen detail, adjust background—can make the swap look dramatically more realistic.
There are plenty of editing tools out there. The real question is: which one acts like a deepfake AI photo editor (built for realism + speed), not just a design app?
Pixlr promotes a free online AI photo editor workflow in-browser.
These are solid for general edits, but Deepfake Maker’s advantage is the combination of deepfake-centric creation plus an editor toolkit in the same ecosystem.
Some tools focus heavily on video deepfake creation and face mapping.
But if your problem is “my image looks pasted,” you still need a deepfake AI photo editor layer—background blending, object removal, restoration, finishing.
There are fast face swap apps that do one thing well.
Deepfake Maker’s pitch is broader: face swap plus supporting image tools, so you can do the whole pipeline (prep → edit → publish) without bouncing between five apps.
In other words: if you only need one swap, any tool can work. If you’re building repeatable content, a deepfake AI photo editor suite is the smarter choice—and Deepfake Maker is built like a suite.
Want your deepfake AI photo editor outputs to look less “AI” and more “professional”? Use this checklist:
A deepfake AI photo editor is powerful—so the rule is simple:
Only edit images you own or have explicit permission to use.
Non-consensual deepfake content can cause real harm, and the broader deepfake ecosystem has been tied to abuse and exploitation risks (especially with “nudify” services).
If you’re using Deepfake Maker (or any deepfake AI photo editor) for parody, creative projects, marketing, or storytelling:
Responsible creators don’t just make realistic edits—they make safe ones.
No. A deepfake AI photo editor is just as valuable for background replacement, object removal, restoration, and style finishing—often the steps that make edits look truly real.
Deepfake Maker combines face-focused creation with an image-tool hub (AI photo editor, restoration, replace, background tools, and more), so your workflow stays in one place.
Yes—background cleanup and object removal are common for product photos. Deepfake Maker also frames AI Replace as useful for product, marketing, and social workflows.
Deepfake Maker’s homepage claims it does not store uploaded media or generated content and emphasizes privacy-safe processing. Treat this as the platform’s stated policy and review their official terms/policy for your needs.
Use a deepfake AI photo editor in layers: clean distractions, match lighting/texture, then stylize lightly. Most “AI-looking” results come from skipping the match step.
If you only take one idea from this post, take this: a deepfake AI photo editor is not about making something louder—it’s about making something cleaner. Clean edges. Clean lighting. Clean focus. The less viewers notice your editing, the better your editing is.
And that’s why Deepfake Maker is worth considering as a daily driver: it’s positioned as a creator-friendly ecosystem—face swap plus practical editing tools like background replacement, object removal, restoration, and AI replace—so you can go from “raw image” to “ready to post” without juggling apps.